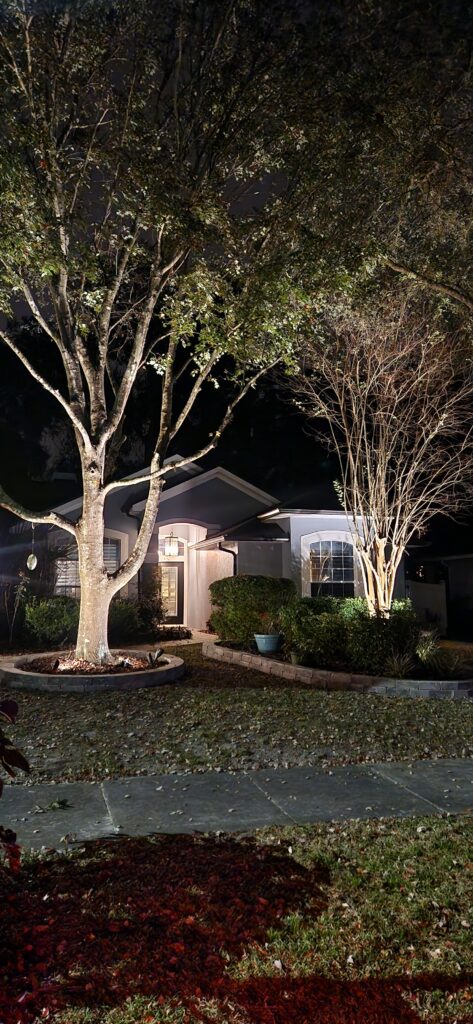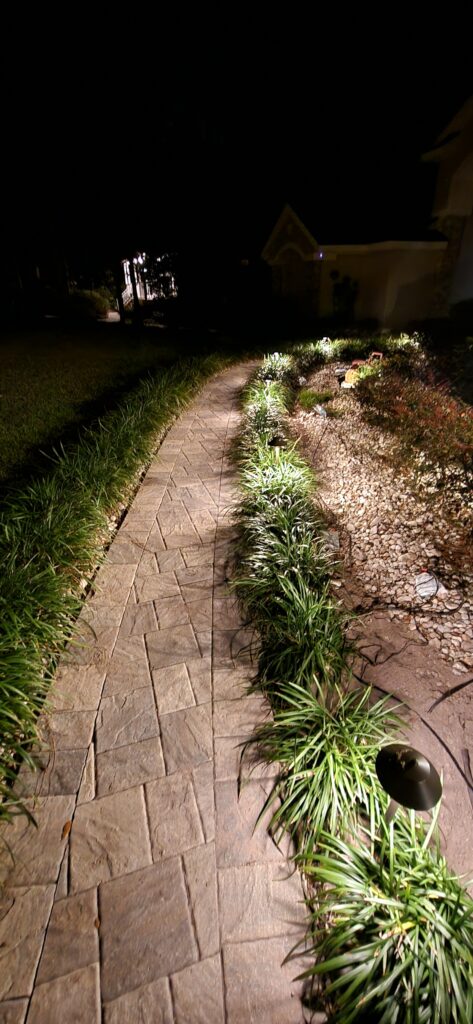
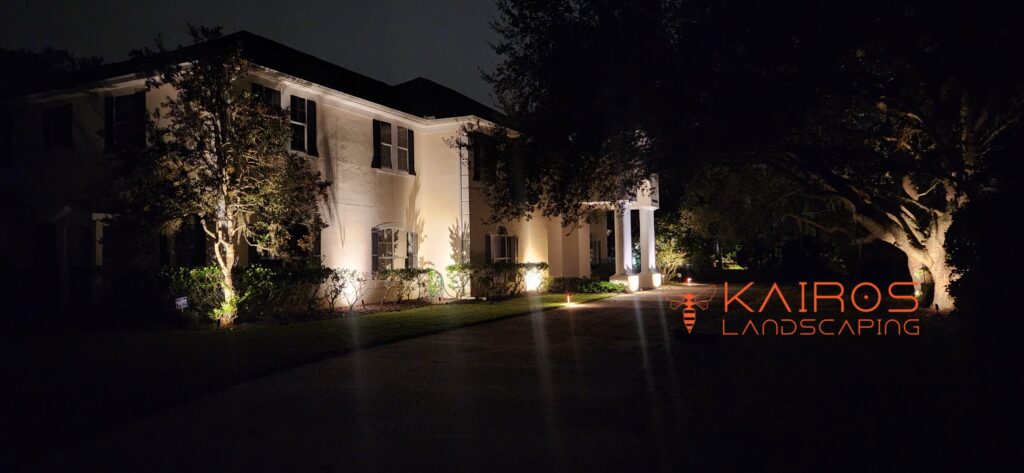
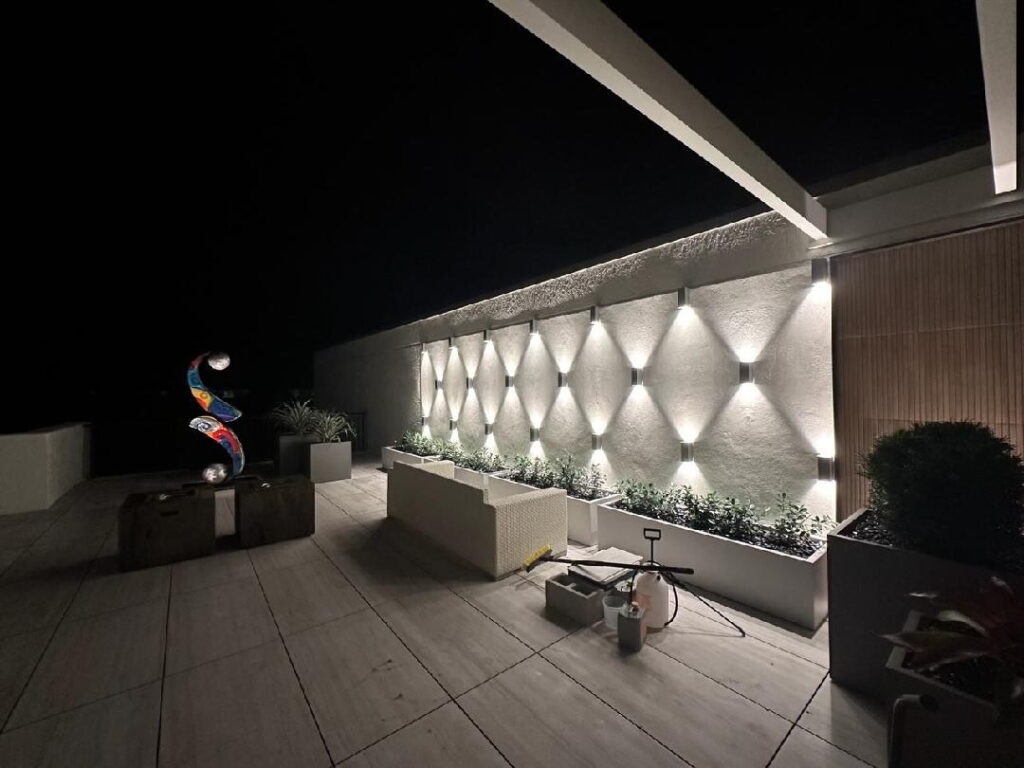
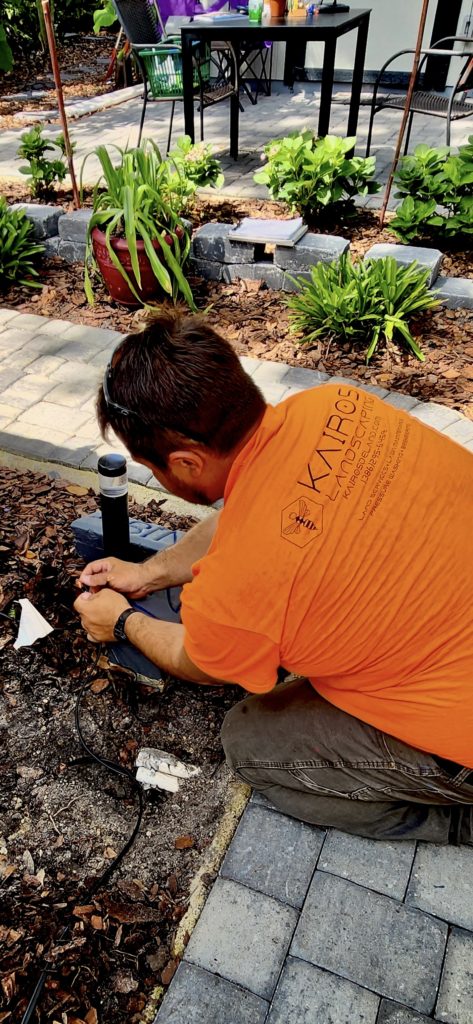
We condensed some of the basic principles that will get you started, should you have the locus of control to initiate and accomplish such a goal. Think big, or think small… these tips and tricks should get you started on a solid track for your DIY outdoor lighting project.
Adding landscape lighting addresses 4 issues in every landscape: Safety – Functionality – Security – Aesthetics
Planning and Layout
- Dry fit your fixtures first: Place your lights and run the wire loosely above ground before digging or making permanent connections.
- Set lights back from bed edges (path lights and wall wash lights): Keep ground fixtures about 3 to 4 inches inside the garden bed edge so you do not hit the lights or the wire when trimming or re-edging.
- Leave service loops: Leave a small coil (slack) of wire or extra lead wire at each fixture so you can adjust, relocate, or repair lights as plants grow.
- Mindset considerations: ask yourself, “Why light it?” Avoid putting a light somewhere random just for the sake of it. Illuminate with purpose.
- Know what “Kelvin” temperature you want and what emotion you want to invoke in the experience of your guests (and yourself). We like a nice, warm 2700K range of lights – think of the lights coming up after a play in the Historic Athens theater in Downtown Deland.
Sizing and Power
- Size your transformer properly: Add up the total wattage of all your light bulbs, then choose a transformer rated at least 20% higher than that total to account for power loss and system inefficiencies.
- Mount the transformer correctly: Install the transformer near an exterior GFCI outlet, mounting it at least 12 to 18 inches above the ground (or onto a sturdy wooden post if attaching to stucco).
- Polarity (Positive and negative) doesn’t matter in the low voltage lighting world.
Wiring and Connections
- Use waterproof connectors: Always use gel-filled or waterproof direct-burial wire connectors rather than standard indoor wire nuts.
- Test as you go: Power on the transformer and test your lights every two to three fixtures during setup to easily spot and fix short circuits.
- Shallow trenching: Bury low-voltage cables about 4 to 6 inches deep in a simple trench—deep enough to protect them from lawn aerators or shovels, though strict electrical codes are usually minimal for 12V systems.
Aiming and Fine-Tuning
- Adjust angles at night and distances from bases of trees and walls: Wait until after dark to walk your property, tilt and angle your uplights, and adjust glare guards to eliminate hot spots and direct glare out of your eyes. Aim to see the effect, not the source.
- Automate your system: Program the transformer’s built-in timer, astronomical clock, or photocell sensor so the lights turn on automatically at dusk
- Uplights and wall wash lights have multiple options with beam spread (how tight the focal point of the light is). Higher quality bulbs usually indicate what its focal point is in terms of degrees directly on the bulb.
Future Considerations
· You can expect to donate solar powered lights found at the big box store to the landfill each year. They do not feature the durability of professional grade landscape lighting fixtures.
· If cost is a limiting factor, you can upgrade your low voltage power source at a later time, but do not skimp out on fixture quality.
· Consider multi zoned system capabilities to control light where you want it at any time of your choosing.
Of course, if you have any questions on the artistic effects that can be achieved with landscape lighting, or you need help on technical installation elements, give us a call, or book a consultation with us for all your outdoor entertainment needs.
Find out more about quality and options at these websites of our favorite manufacturers:
https://www.kichler.com/tips-guides/landscape-lighting-guide/why-hire-a-landscape-pro
https://www.kichler.com/products/landscape-lighting
https://www.fxl.com/photos?f%5B0%5D=im_field_classification%3A2271